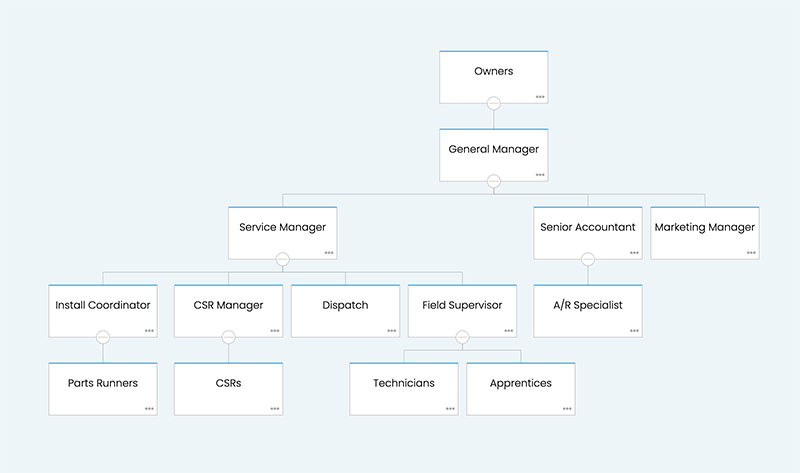
Organizational Chart:
The Organizational Chart creates all the positions your business needs to get the work done.
Adding new positions:
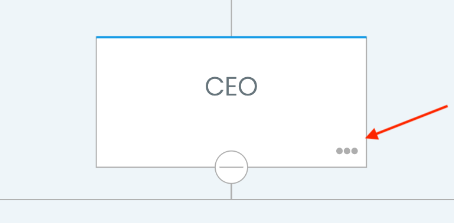
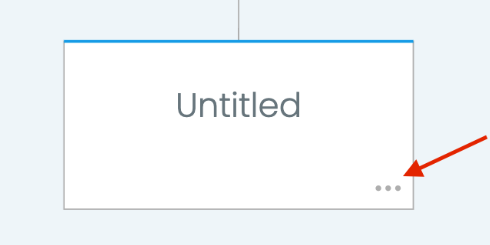
Step 1: To begin adding a new position to the organizational chart, click the [...] icon of the superior of the new position you want to create (i.e I want to create a position under the CEO, so I will click on the 3 dots on the bottom right corner of the “CEO” box.)
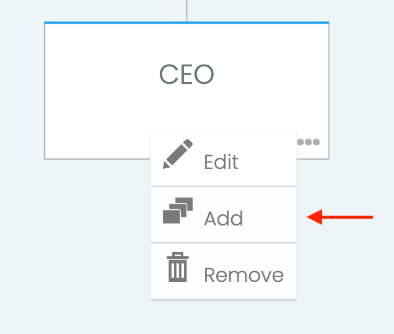
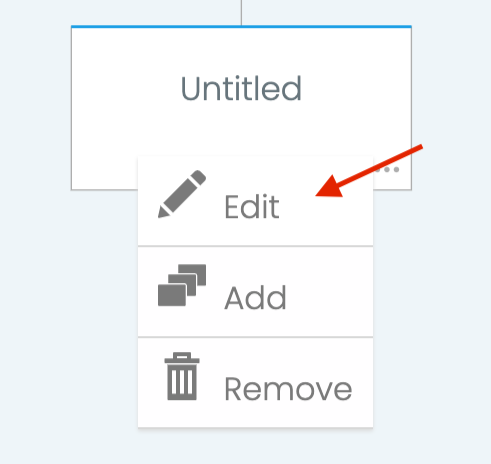
Step 2: Click on the “Add” button
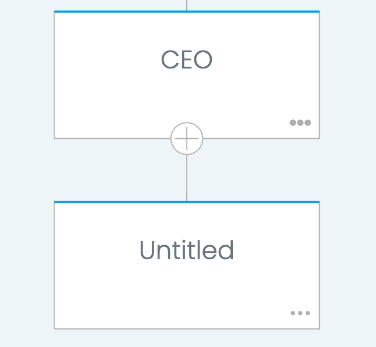
A new “Untitled” box will appear.
Editing the Position Titles:
Step 1: To edit the position titles click the box on the organizational chart that you would like to edit.
Step 2: Click the “Edit” button.
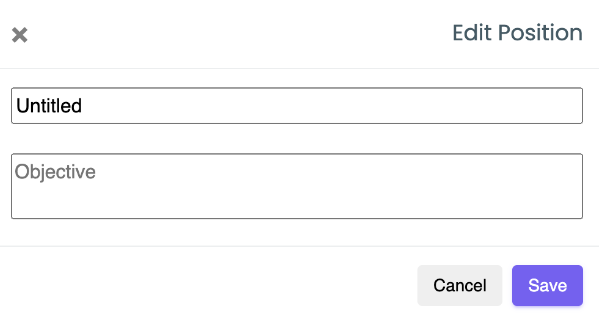
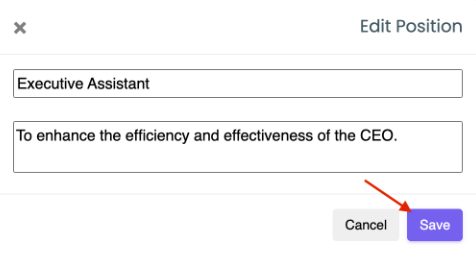
Step 3: A pop-up will appear. You can change the job title by entering a new title in the first box. You can also optionally add an objective to the job title.
Step 4: Click on the “Save” button to save your changes.
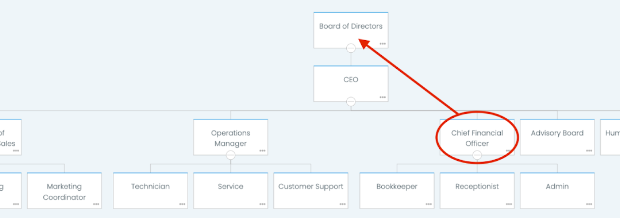
Moving Positions:
To move a position under another position drag the position you want to move to the new manager/immediate superior.
For example, if you want to move the Chief Financial Officer to be under the Board of Directors, you would drag the box titled “Chief Financial Officer” to the box titled “Board of Directors”

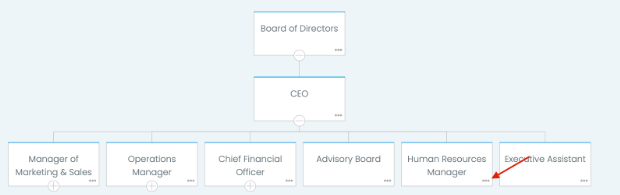
Deleting Positions:
Step 1: To delete a position, click on the [...] in the bottom right corner of the desired position.
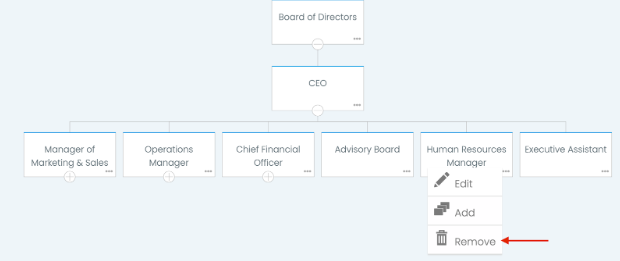
Step 2: Then, click the “Remove” button that appears on the drop down.
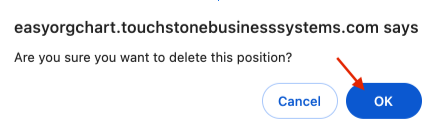
Step 3: A popup will appear asking to confirm the deletion. Click “OK” to confirm deleting the position.
Printing the Page:
When printing the org chart, first make sure it is arranged how you desire. (See expand/collapse section for more)
On PC: Use the snipping tool in your windows operating system to take a snapshot of the org chart. Another good tool you can use to take a snapshot is the “Capture” from techsmith, that can be downloaded onto your desktop.
On Macbook: To take a snippet of the org chart, hold “command” and “Shift”, then click “4” on the keyboard. Then drag your mouse diagonally to capture the portion of the org chart you want to print.
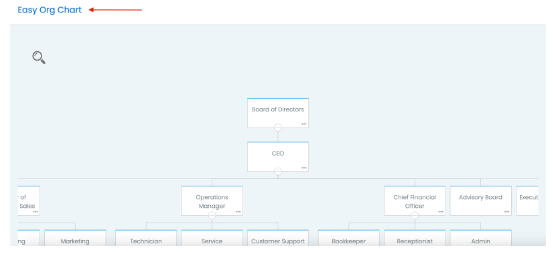
Moving the Org Chart:
To navigate around the org chart, click on the empty space around the components of the org chart, and drag your mouse/cursor
Zooming on the Org Chart:
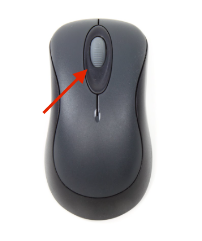
To zoom in and out of the org chart using a mouse, use the scroll wheel.
To zoom in and out on a laptop, using two fingers, drag up to zoom out, and drag down to zoom in.
(Note: The zoom function on a keypad is very sensitive, and so we recommend using a mouse when possible)
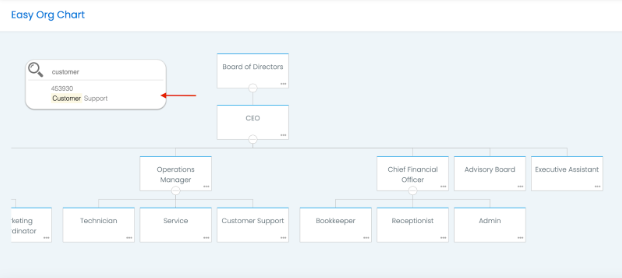
Search Bar:
The search bar can be used to find a specific position on the org chart. To use it, hover your cursor over the “magnifying glass” icon, then in the search bar, type in a position or keyword that you would like to find.
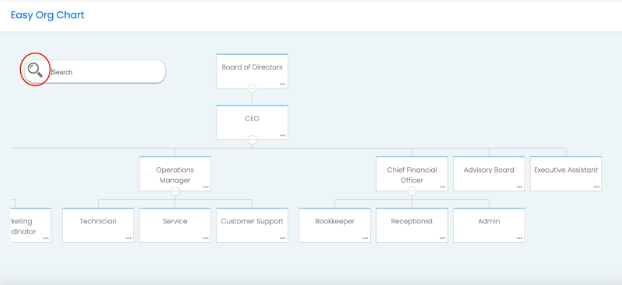
Once you see the job position you are looking for, click on it to find the position.
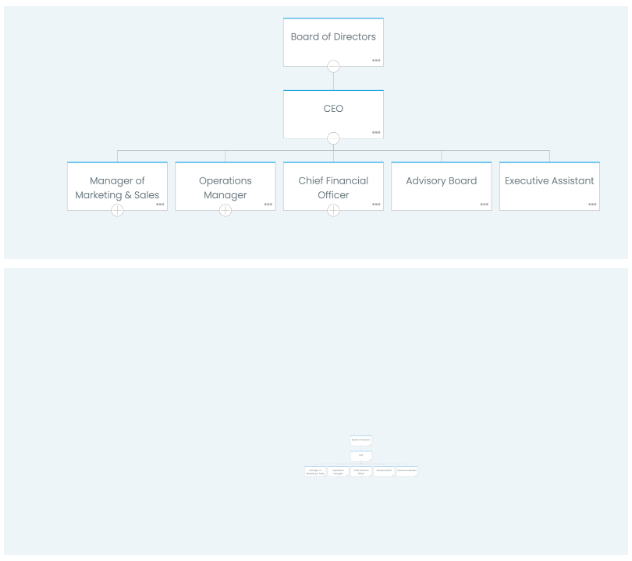
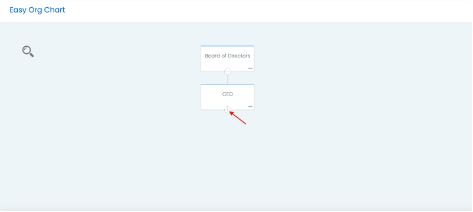
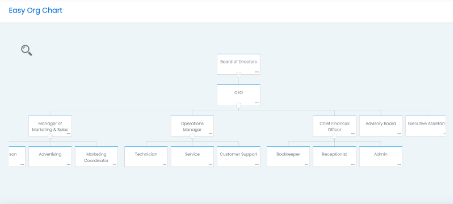
Collapsing and expanding:
You can expand and collapse parts of the org chart to help make the content easier to digest.
Collapse: To collapse a portion of the org chart, choose a manager of a position, of which you want to hide all of the subordinate positions, and click on the [-] icon on the lower border of the box.


Expand: To expand the org chart, click the [+] icon on the lower border of the box.
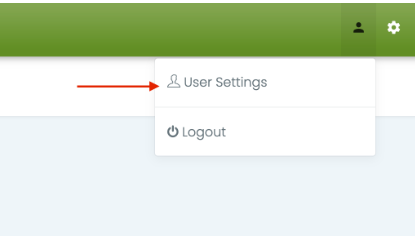
User Settings:
The User Setting button is used to change the Username / Email Address and Password for the user that is logged in.
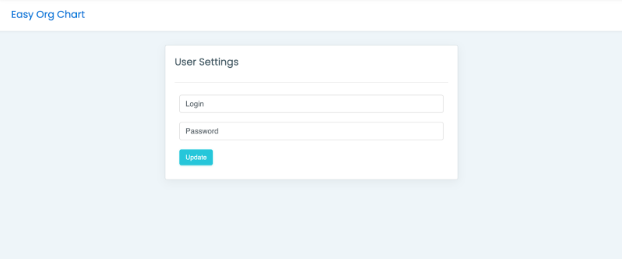
To Navigate to the User Settings, click on the “human” icon on the top right corner, then click on the drop down titled “User Settings”
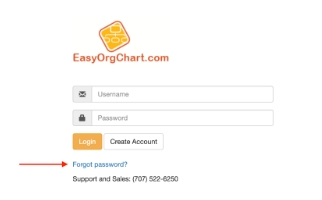
Password Recovery:
If you forget your password you can use your username, which is also your e-mail address to recover it.
Go to the EasyOrgChart login page (easyorgchart.touchstonebusinesssystems.com/login) and click the “forgot password” button.
You will then be directed to enter your e-mail address, which has to be the same e-mail address that you are using for your username. Then click “Recover Password”.

A message will then appear stating that a e-mail has been sent to your e-mail address to verify that it is authentic, and to give further instructions. Close this screen and go check your e-mail box.
You should receive an e-mail from TouchStone Business Systems with the subject TouchStone Password Recovery. Open this e-mail. Important note: If you do not receive this e-mail check you spam filter. The e-mail address you are using must be you current username e-mail address. If you have forgotten your username e-mail address contact Business Design Corp to verify.
Once you have opened this e-mail click the link provided.
You will then be directed back to the Touchstone login screen, which will instruct you that your new password has been sent to you in another e-mail.
Then go back and check your e-mail box and retrieve your e-mail. The e-mail will be from TouchStone Business Systems and the subject will be TouchStone Password Reset.
The email will include your new temporary password, which is randomly generated
Copy and paste the temporary password back to the TouchStone login page and paste it into the password field, enter you username and click the “Login” button.